Go Green Babies, Toddlers, and Pre-Schoolers
Think about what you throw away each day, each week, and each year.
What projects could you create if you used some of these materials?
It's always important to completely clean old containers and always follow safety precautions but re-think some of the uses and create things you can do with what you would normally toss.
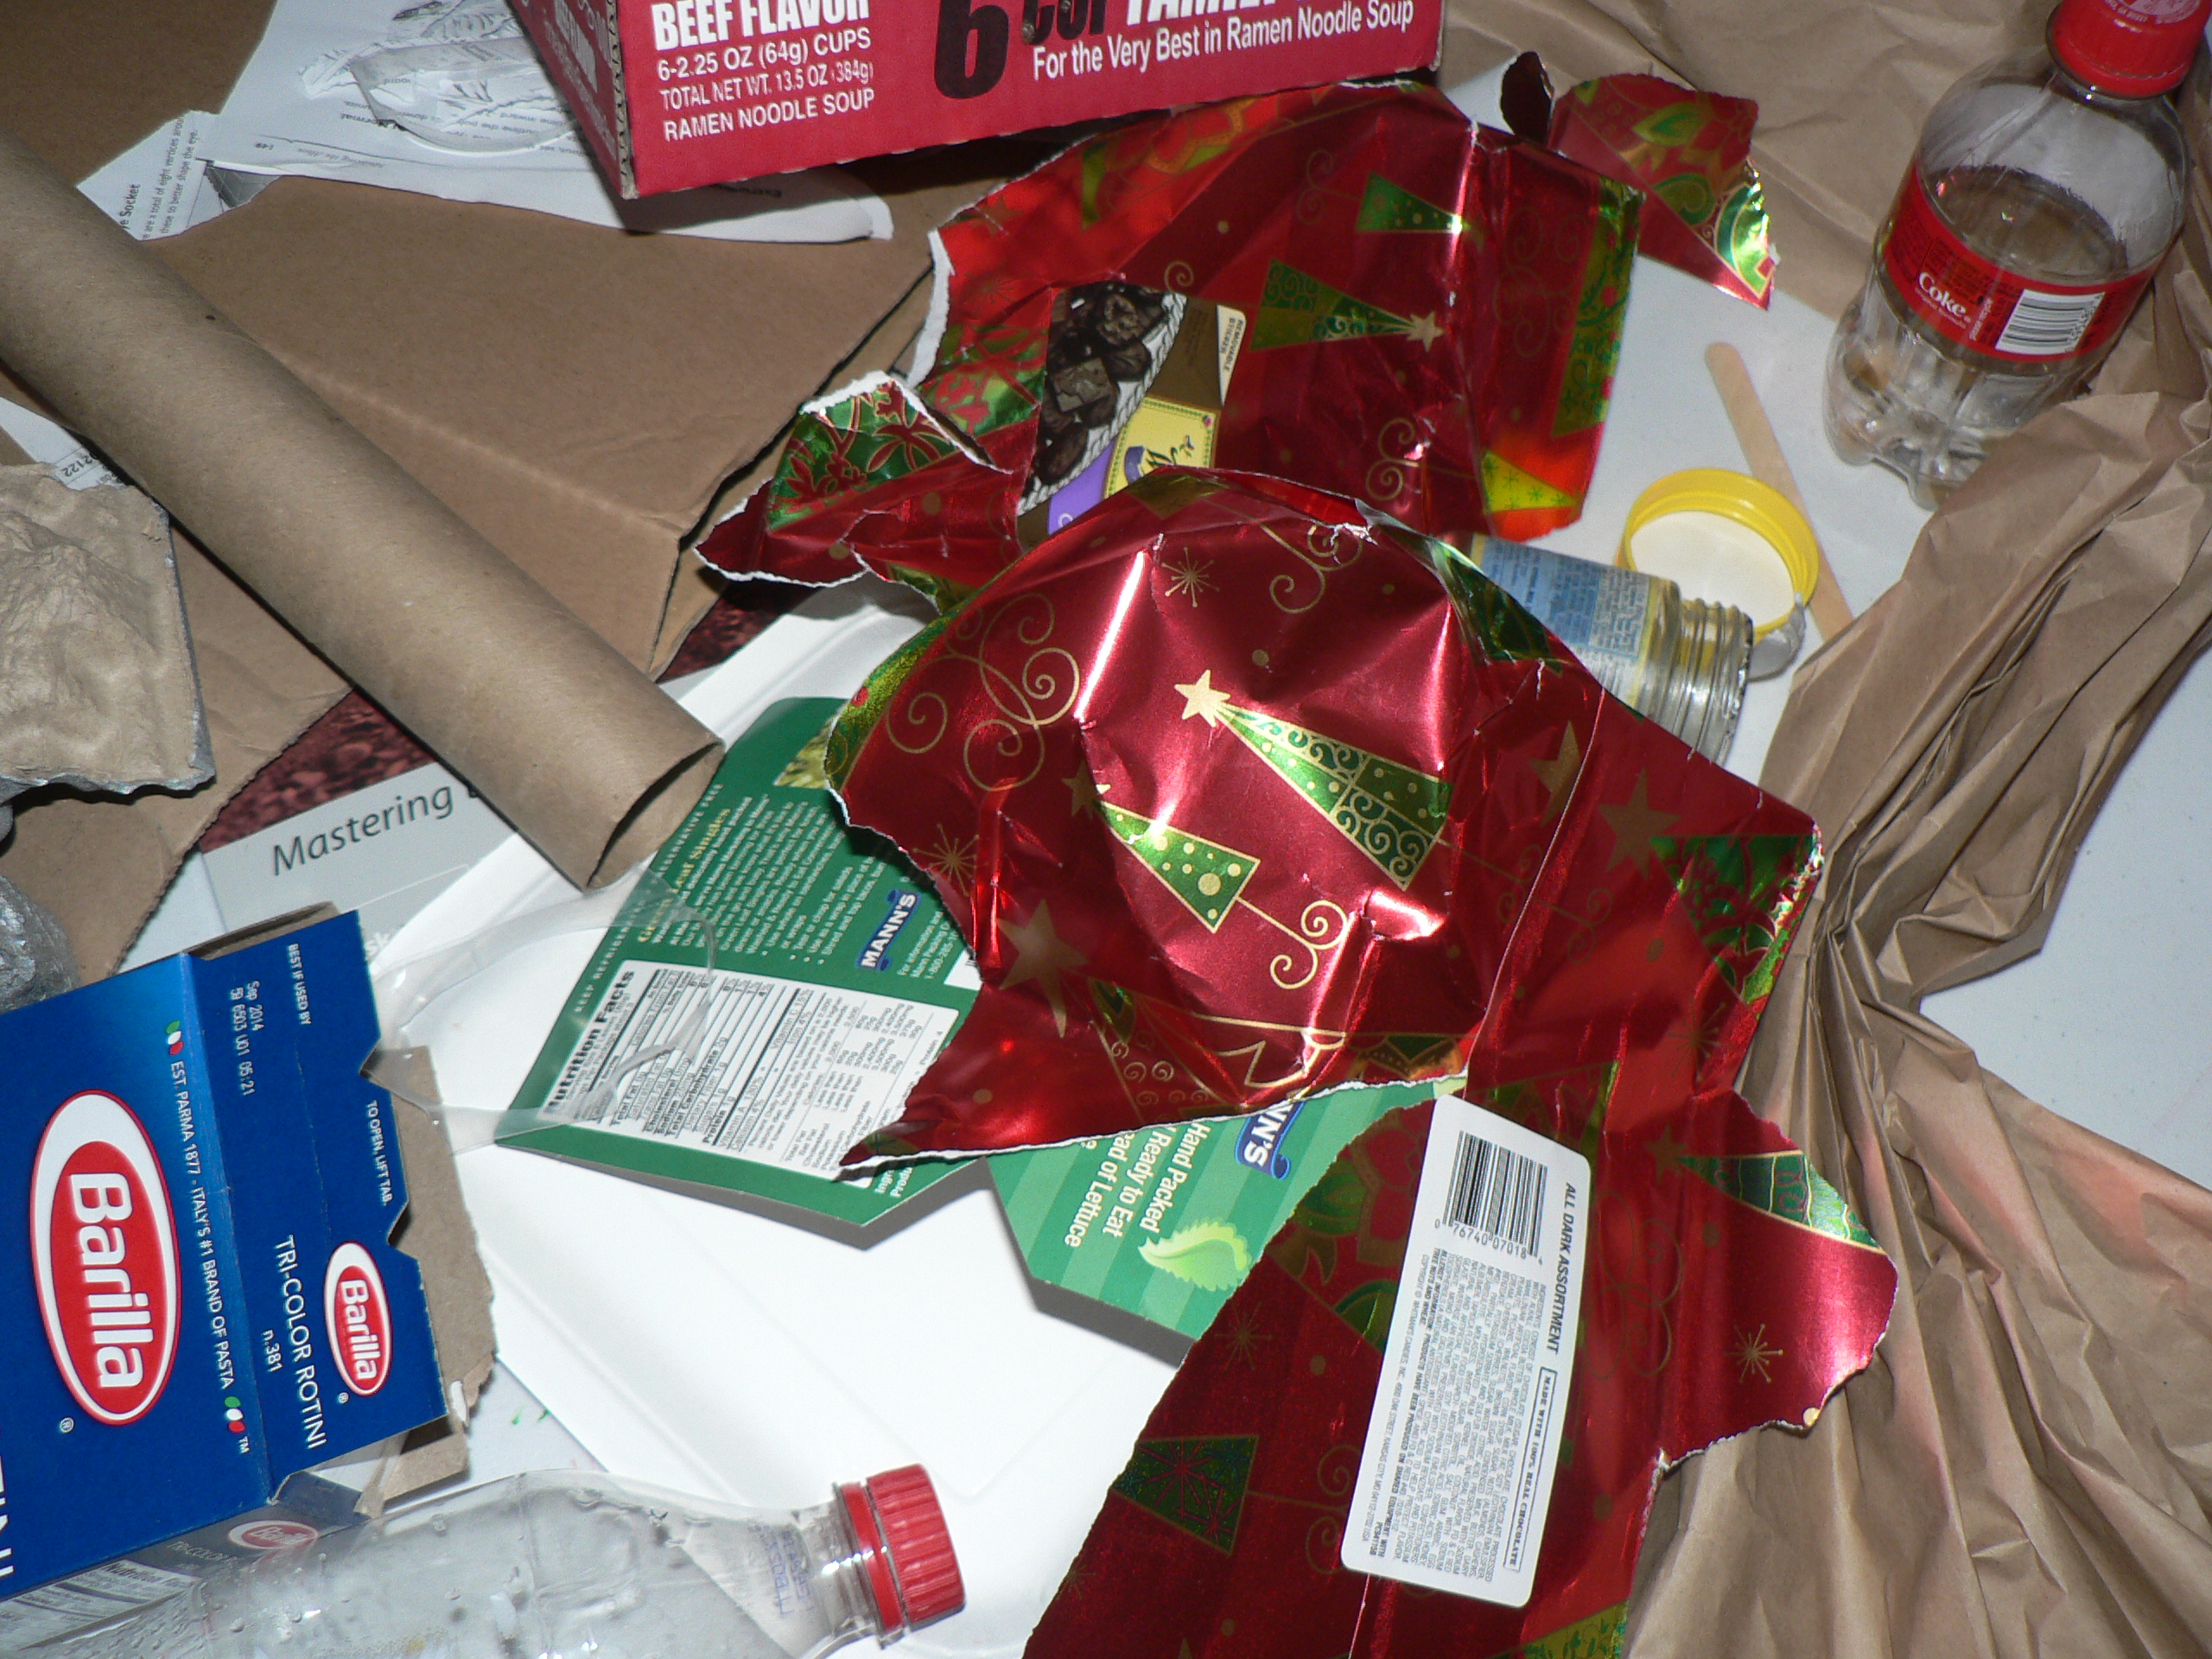
Take a look at this pile of trash that would make the worst of hoarders blush ;-)
The trash pile consists of a discarded book, plastic and a glass bottle with caps, packaging materials, paper towel rolls, shipping paper, box, cardboard, and bottle caps.
What can we create by adding some paint, other supplies, and polished creativity?
This lesson will transform those things that were intended for the bin and make projects that you can use.
Project #1
Christmas Paper Art, Parent/Grandparent Season Takehome or Greeting Card
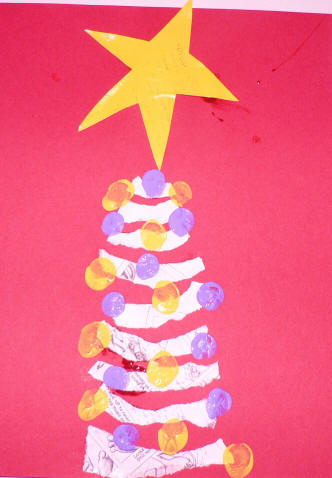
Note: Don't be thrown by the splats, it's the glue. Use a glue such as Aleene's that will dry clear. The white Elmers school glue should also be ok. In this case the Elmer's clear was used and it just doesn't seem to dry correctly.
The neat Christmas tree is created using torn paper from a discarded book. Use a piece of construction paper as a backdrop. Tear the discarded paper. Use thumbprints smeared with paint to create the Christmas light bulbs.
Another helpful material in the discarded pile is brown packing material. Paper bags are also useful in creating projects.
Most books come with a long sheet of brown paper. We are going to create an interesting project that can be used in a display, worn as a costume, or just created as a project and take home fun piece for children.
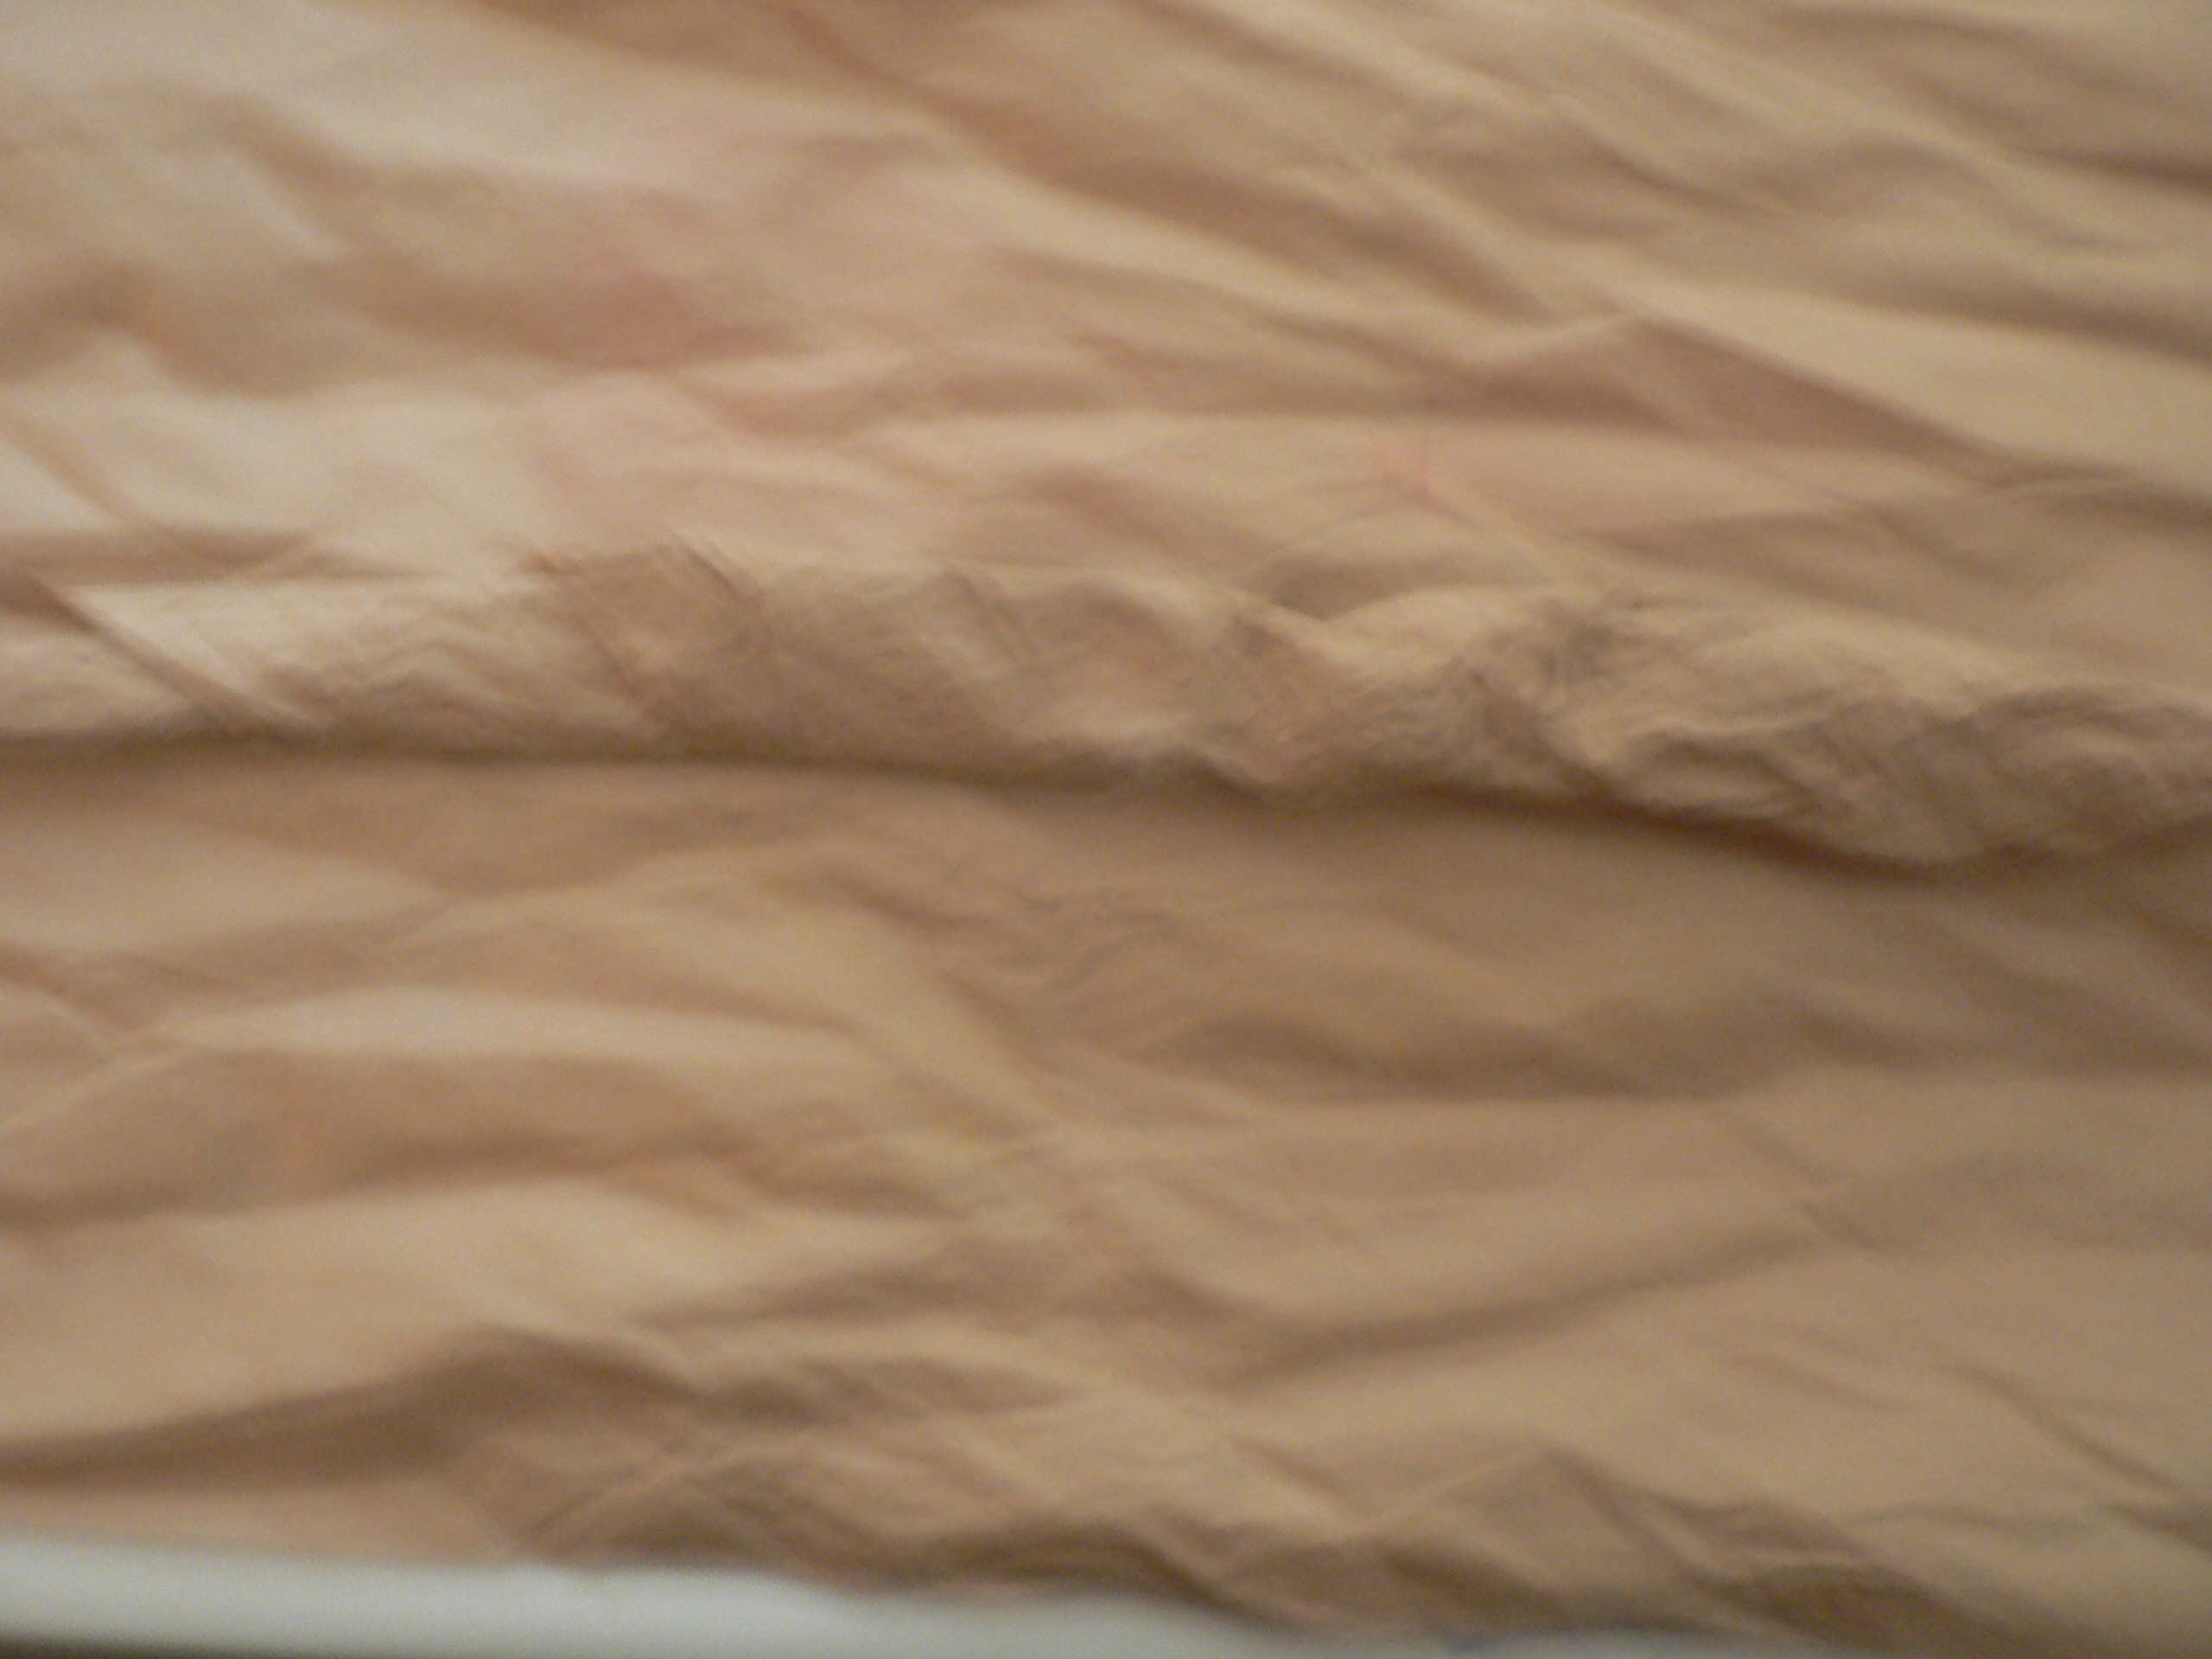
The first thing to do with a piece of recycled brown paper is to fold and crumple it. Stretch it out, cut it, and draw butterfly designs.
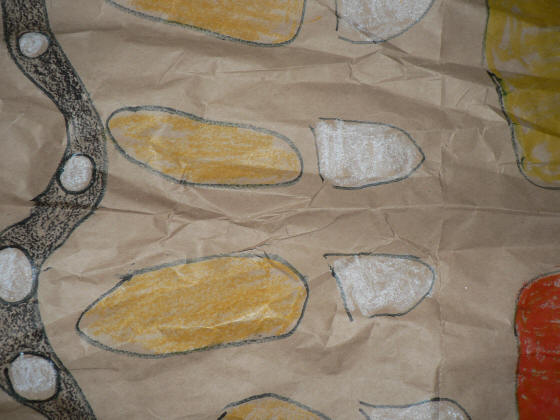
In this example, I have used a crayola marker to create the initial designs and crayon to color them in. You can make the butterfly on a smaller scale for young children. It's best to create the initial designs and let children color them in. If you create a smaller project children will be able to complete the project in one session. The larger example will take more time and is too labor intensive for young children, even if parents are helping.
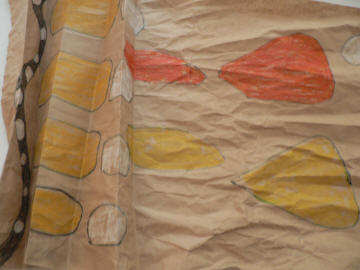
Make sure that you duplicate the designs on each side. It's good to have a picture of a butterfly to replicate the patterns.
You want it to look something like this stretch out.
![]()
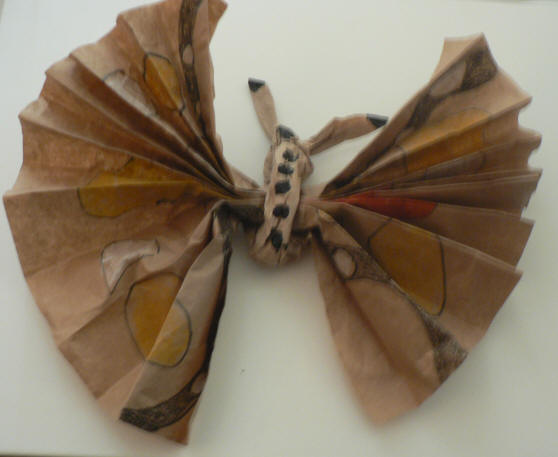
Create a "body" for the butterfly by folding and crumpling a piece of brown paper to create about a 9" narrow tie that will fit around the wings.
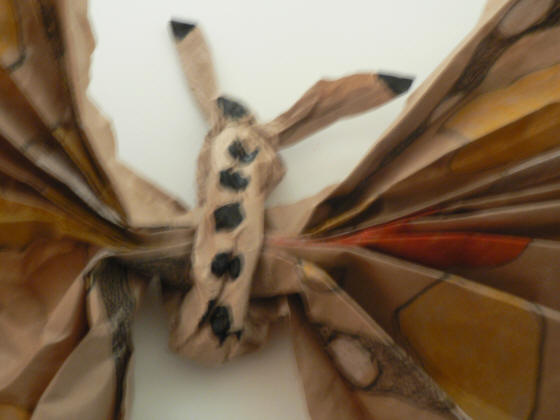
Fan Fold the long piece of decorated packing material. Tie the "body" around the center and adjust it the ends to resemble butter fly feelers. Paint the body.
Take a look at another page that I have created of projects and resources that depend on recycled paper.